
Guide d’installation
À un équipement clair et bien organisé !
Prenez votre boisson préférée — café, kombucha, ou quelque chose d’un peu plus corsé — et personnalisez vos objectifs et appareils avec nos indicateurs. Profitez-en aussi pour chouchouter votre sac photo, puis sirotez et commencez l’installation !
Please review all the tips before starting to apply your labels
Version Française
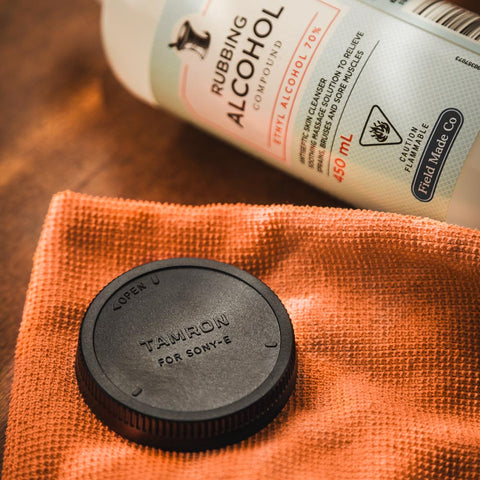
Avant tout, nettoyez vos capuchons
Retirez toute poussière, graisse ou résidu à l’aide d’alcool isopropylique et d’un chiffon en microfibre ou sans peluches.
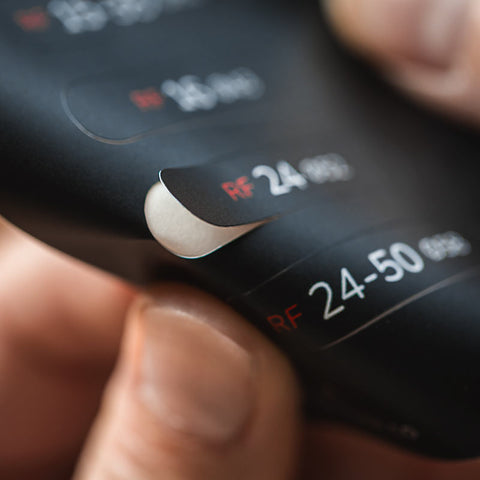
Décollage de l’indicateur
Lors du détachement de l’indicateur de la feuille, vous pouvez recourber légèrement la feuille au niveau du bord de l’indicateur pour faciliter son retrait sans l’abîmer.
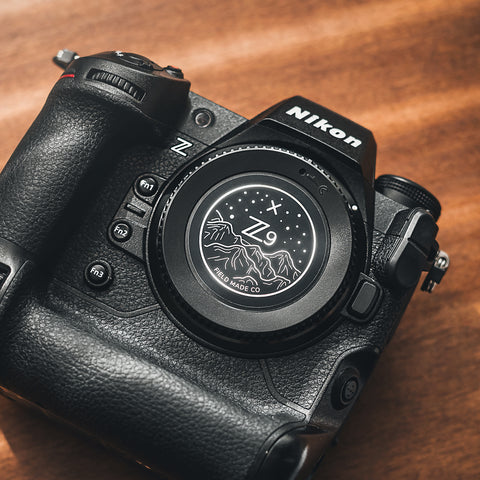
Installez le capuchon sur l’appareil AVANT de poser l’indicateur !
Installez le capuchon sur votre appareil et assurez-vous qu’il soit bien verrouillé. Ensuite, posez l’indicateur en l’alignant correctement avec l’appareil.
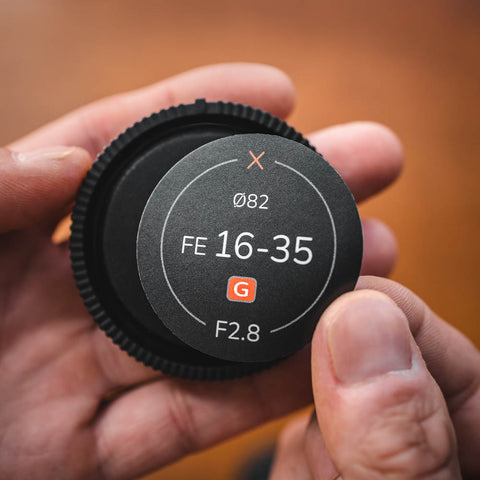
Pose de l’indicateur
Alignez l’indicateur sur un côté, puis vérifiez qu’il est bien centré sur le capuchon sans appuyer. Vous pourrez ainsi le repositionner ou le retirer en cas de mauvais alignement ou de bulles. Une fois bien en place, pressez uniquement le contour, surtout sur les capuchons avec logo en relief ou surface texturée.
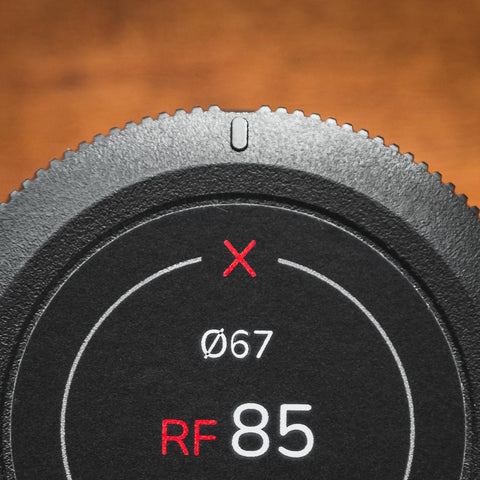
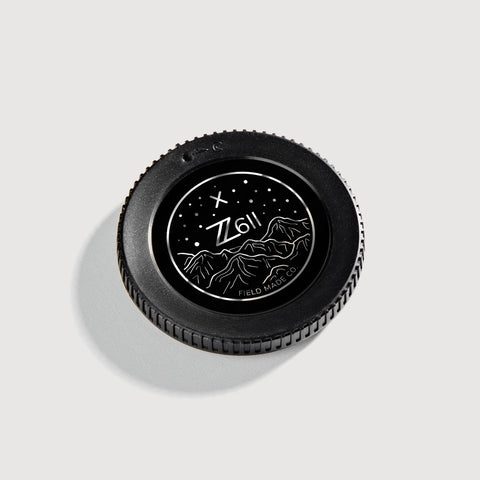
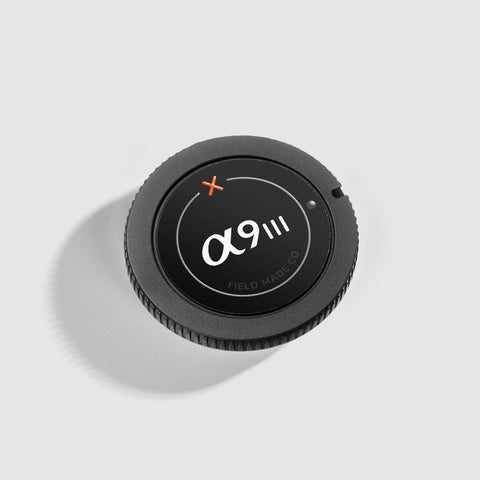
Bien aligné
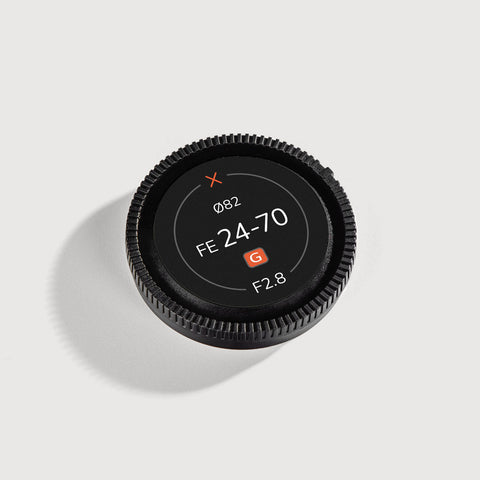
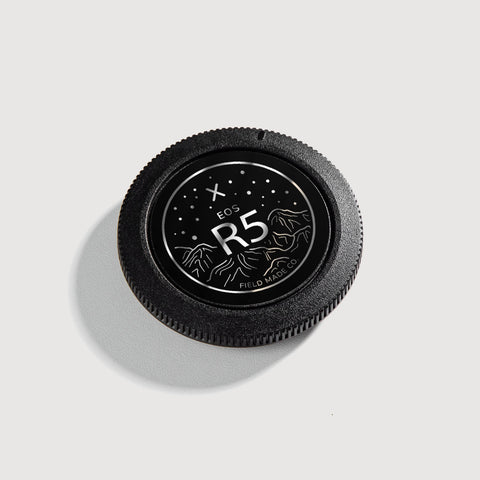
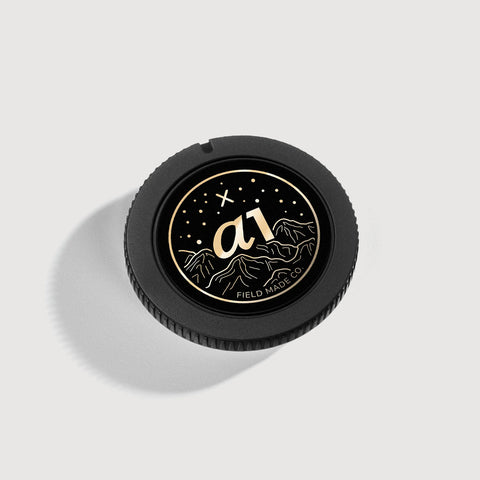
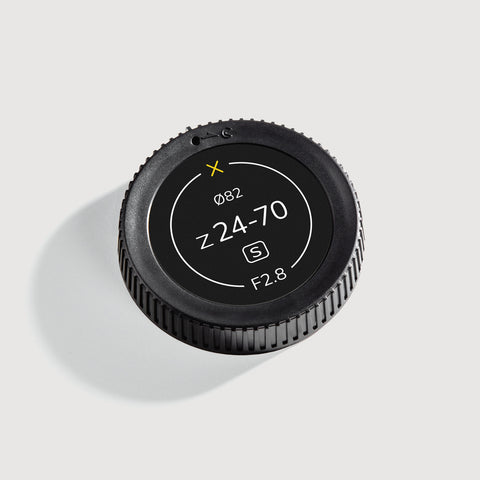
Alignez le X de l'indicateur avec celui du capuchon pour positionner correctement le capuchon lors de son installation sur l’objectif.
Capuchons avec logos en relief
Si votre capuchon a un logo en relief, alignez les chiffres de la focale de l’indicateur avec le logo de la marque, puis exercez une pression uniquement sur le contour de l’indicateur pour un effet net.
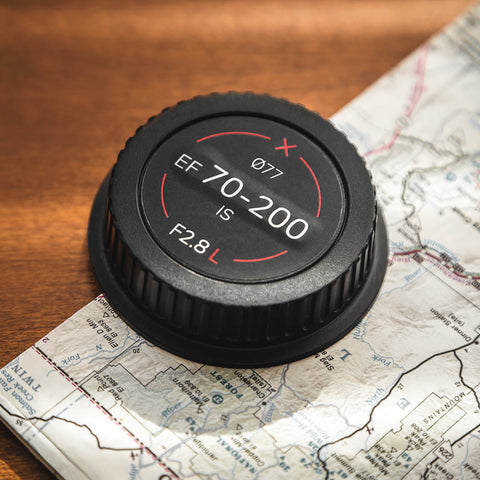
Application de l’indicateur sur le capuchon avant
Pour un rendu net sur les capuchons avant, posez les indicateurs au-dessus du logo de la marque pour les petits capuchons, ou en dessous du logo pour les capuchons plus gros.
Il vous manque des indicateurs?
Découvrez nos indicateurs individuels. Économisez 15 % en ajoutant 5 à 9 indicateur de camera ou objectif individuel, 20 % pour 10 à 14 et 25 % pour 15 ou plus. Le rabais est appliqué au panier.
Indicateurs d’objectif individuels
Indicateur caméra pour Sony E - Classique
Prix:
€5,95
Prix régulier:
